Before you continue reading this article it is recommend to check Introduction to MyTicket Events Plugin article first to better understand how this plugin might be useful to you.
With the help of MyTicket Events plugin you can generate beautiful PDF printouts suitable for:
- conference badges
- meetup events
- concert attendees
- party organizers
- other event types
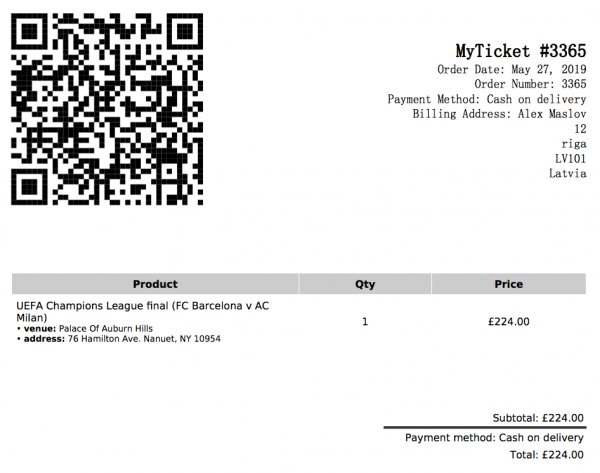
Note that tickets have QR-code which can be validated with the help of free mobile application available under Play Market and called MyTicket Scanner App. Feel free to download it to test your tickets.
It is also recommend that you have some basic experience with HTML and PHP as you may need to dig into the code a little bit but at the same time you have freedom to customize your tickets in any desired way.
Below is the example of the default ticket that is being generated upon checkout and can be sent by email directly to your clients.
MyTicket Events Plugin supports two ticket types:
- General ticket that contains all records of the purchase and can be validated at once with the help of MyTicket Scanner App.
- Individual tickets, perfect when one person buys tickets for multiple people. Tickets are split into multiple PDF records upon checkout and can be sent individually to its holder by email. You can enable this ticket type from your WordPress admin under Appearance > Customizer > MyTicket section. This ticket type is perfect for conference badges where attendees name is printed on the badge along with the QR-code above. This ticket can be validated individually without affecting status of other ticket holders from the same checkout batch.
If you want to get more information on how MyTicket Scanner application works make sure to get through this article.
To start customizing your first ticket you need to copy templates folder of myticket-events plugin under your theme’s root folder.
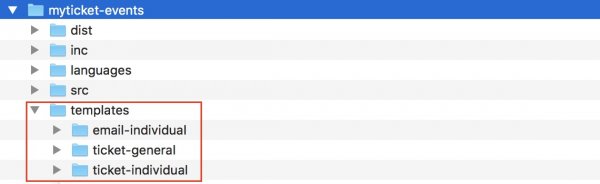
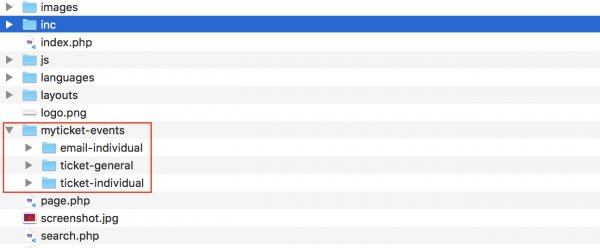
Now copy templates folder to the root folder of your theme but make sure to rename template folder to myticket-events. See the image below.
Now you are ready to customize your first ticket. For example, go to ticket-individual folder and open index.php. This file is linked with mPDF library and WooCommerce plugin. You can modify HTML structure, add custom PHP code or call WooCommerce methods to get more data from the order and print it into the PDF ticket.
Ticket Background Image
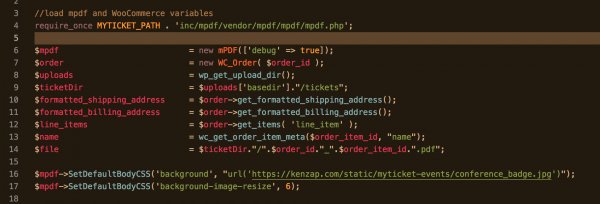
While this is too specific we will demonstrate a more simple example. Lets change the background image of the ticket that will be displayed without any offset and rendered behind main HTML content. For this purpose you can use these methods where https://kenzap.com/static/myticket-events/conference_badge.jpg is the path to publicly available image:
You can paste this code just in the beginning of the index.php file but after mPDF is first declared. See the image below:
So in the end you can have a pretty beautiful ticket preview as shown below. Note that all the data except ticket holder name and the QR-code is taken from the image itself (../conference_badge.jpg). You can also define your ticket structure with the help of HTML and CSS code but we recommend you to have a predesigned image as it will simplify the development process of your printout.

Custom Fields
There might be cases when you need to provide additional information in the PDF ticket and save it under WooCommerce order. MyTicket Events plugin supports various ways of defining custom fields that can be passed to the checkout or cart. Custom fields can also work as additional input tool during checkout, for example, to collect ticket holder name or email.
These are three most common ways of defining and using custom fields:
- Defining custom static fields as hardcoded texts for informational purposes.
- Defining custom dynamic fields as additional input fields to collect data from the user. Can be ticket holder name, email or physical address.
- Defining custom extension fields to extend existing zone or seat information directly under https://myticket.kenzap.cloud/ dashboard.
Custom Static Fields
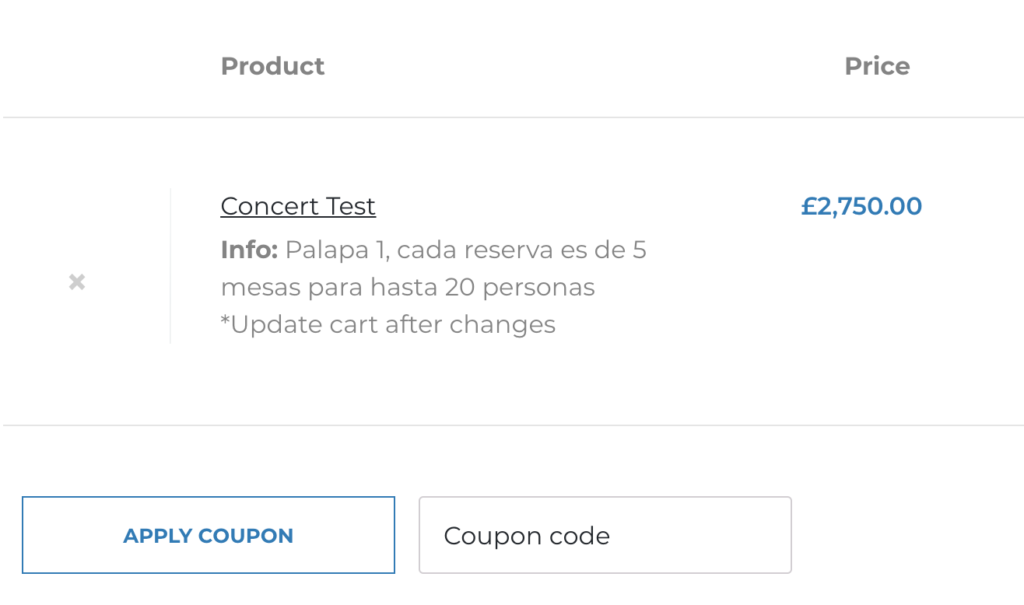
As you can see on the image above the custom Info labeled text is displayed. To define custom static field like that to be displayed under WooCommerce cart, checkout and even in PDF tickets go to the Appearance > Customizer MyTicket > Checkout > Checkout Fields, click on add new field button and provide information as show in the image below.
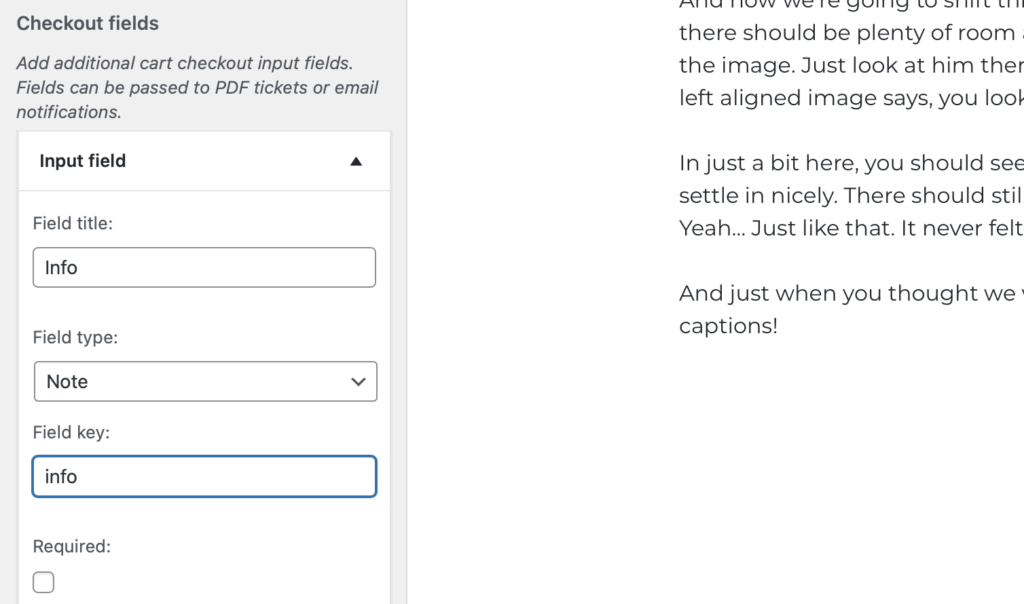
Make sure to select field type as “Note” and provide appropriate field key value. The field key value is not visually displayed, but it is used internally to refer to this value in other parts of your website, for example, in PDF ticket.
Refer to the image below for more details.
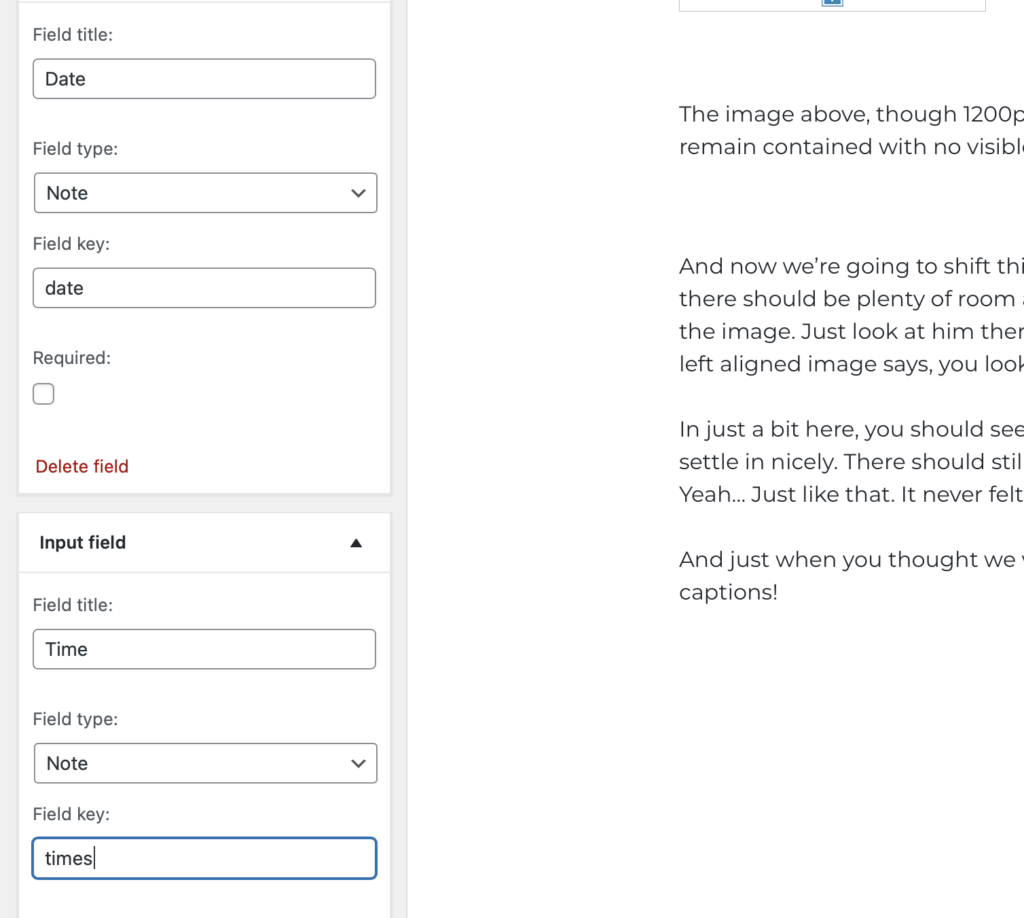
You can also define date and time custom fields that are taken from MyTicket Event Extra fields defined under WooCommerce product settings.
For this purpose you need to define field key as date and another field key as times. Refer to the image below.
Custom Dynamic Fields
Custom dynamic fields are defined in a similar way as custom static fields described in the previous section. Unlike static fields dynamic fields can collect addition information from the user, such as his email address, physical mailing address, etc.

Make sure to select appropriate field type such as Text, Textarea, Email or Checkbox. Once the delivery address is defined it will look the following under the checkout.

The delivery address can be then retrieved in the PDF ticket in a similar as info text example described in previous section.
Custom Extension Fields
Custom extension fields extend default structure of layout object defined under
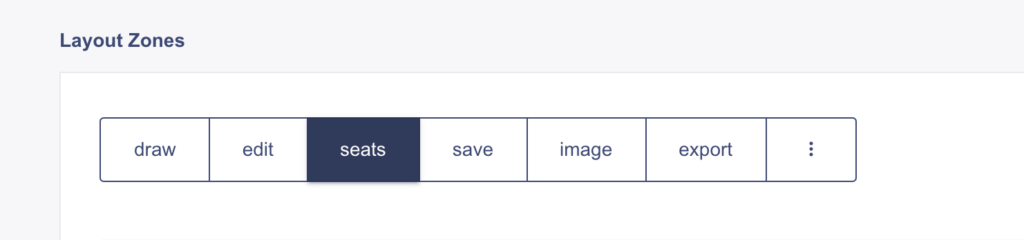
As you can see in the image below there is an add custom field link. Click on it to add new custom field. To change the label of newly created custom field to to your desired name simply click on the text and type on top of it.
Changes will be saved automatically once Continue button is clicked.
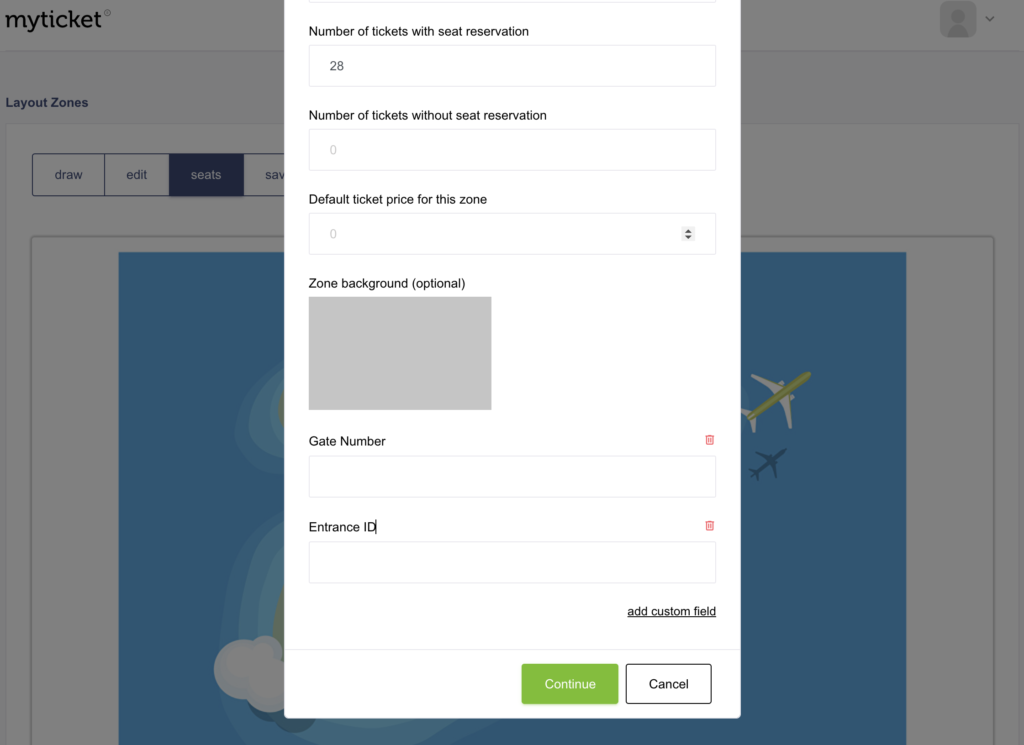
Please also note that once the custom field is defined for one zone it will show up for all other zones automatically. This means that when custom field is defined it is defined globally for all other zones too.
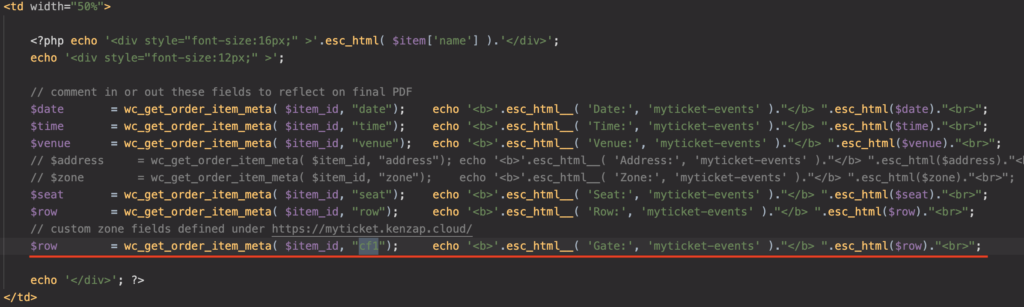
Custom extension fields are assigned key value in the following format, cf1, cf2, cf3, etc. This allows you to retrieve custom field information under checkout and a PDF ticket.
For this purpose go to Appearance > Customizer MyTicket > Checkout > Checkout Fields and add field type Note with corresponding field key value, such as cf1, cf2, etc.

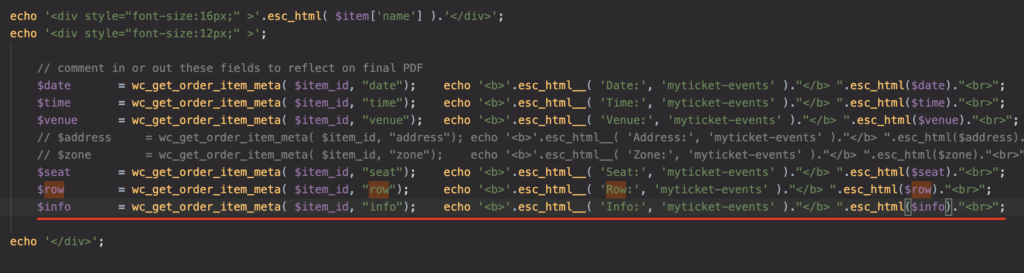
Eventually you can retrieve the field under the PDF ticket by calling function as shown in the image below.
wc_get_order_item_meta